newURL exclusion
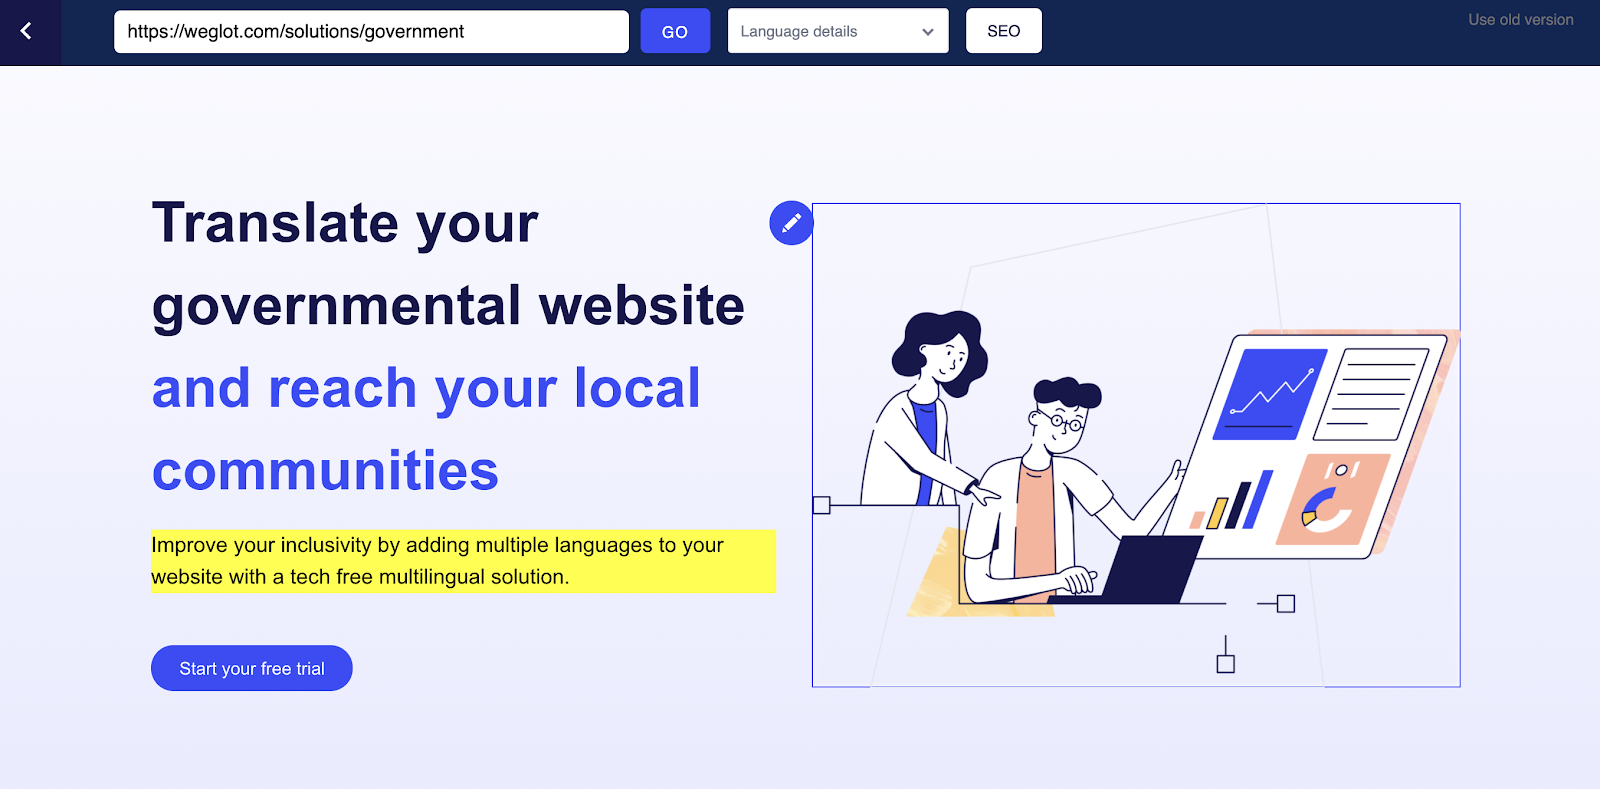
In the ‘Translations Exclusions’ section of your dashboard, you can now make some new customizations when excluding URLs.
We’ve added two options, ‘Language button visibility’ and ‘Exclusion behavior’.

‘Language button visibility’ allows you to choose whether you want the language button to be shown on this URL even though the URL is not translated. If you keep it visible, the language switcher will be visible so visitors can change the language if they'd like. If not, the language switcher will be hidden.
In the ‘Exclusion behavior’ drop down there are two options:
- ‘URL redirects to original URL’ means the translated URL will not be accessible and will always redirect to the original URL.
- ‘URL exists but is not translated’ means the page is accessible by URL but will not be translated.
To access this feature navigate to your ‘Settings’ > ‘Translation Exclusions’ and ‘Add rule’.
new Synchronizing URL content
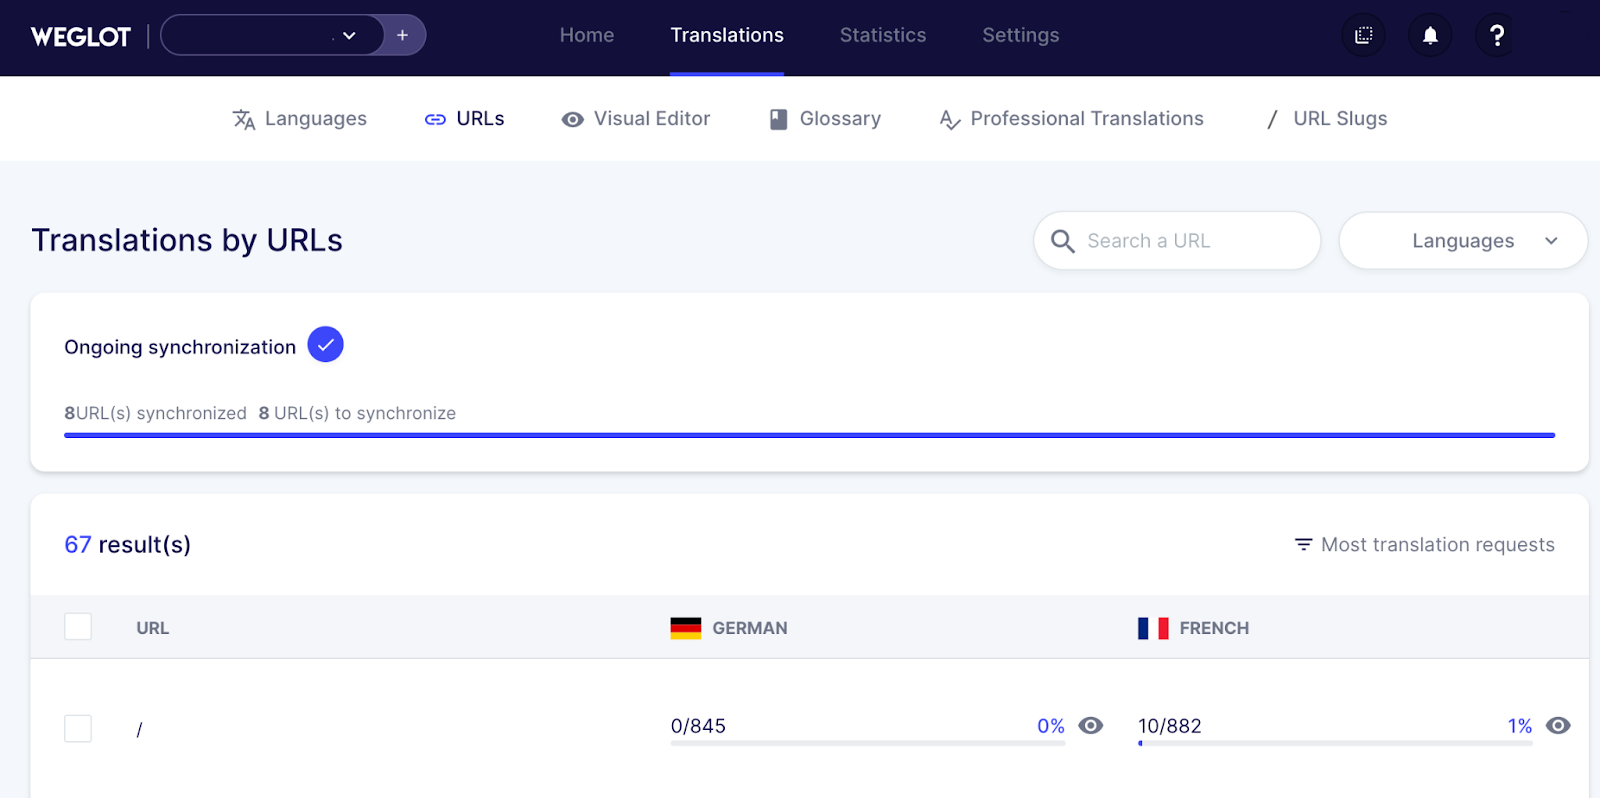
We’ve made a small update to show the live progress when synchronizing the content of your URLs, through the URLs tab.
When you bulk synchronize your URLs a progress bar will appear at the top letting you know the action is taking place and showing you when it has been completed.
To access this feature, navigate to your ‘Translations’ tab > ‘URLs’.
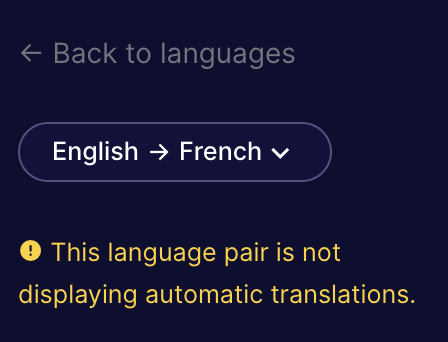
update Notification on Translations List
We’ve made a small update within your ‘Translations List’ to notify you if you have ‘Display automatic translations’ and/or ‘Make public’ switched off.